

Key Points:
- Treating and dumping your holding tanks is a very important part of RVing and should be done regularly and correctly to avoid issues
- Following a few simple steps will help you properly clean and treat your RV holding tank.
Part of RV ownership is proper treatment of your RV toilet and black water tank, which includes regular dumping of the tank and use of high-quality tank treatment products. Neglect or Improperly treatment of your RV black tank will quickly lead to frustrating clogs, disgusting backups, misreading sensor probes, and embarrassing tank odors.
Unfortunately, there is a lot of misinformation out there regarding the best ways to treat your tank, and we understand that it can be difficult to know which “methods” are best and who to trust. But the reality is that treating your black tank correctly is simple if you follow the right methods. We’ve developed this easy-to-follow, step-by-step guide so you can effectively treat your black tank.
Steps For Dumping Your Black Tank
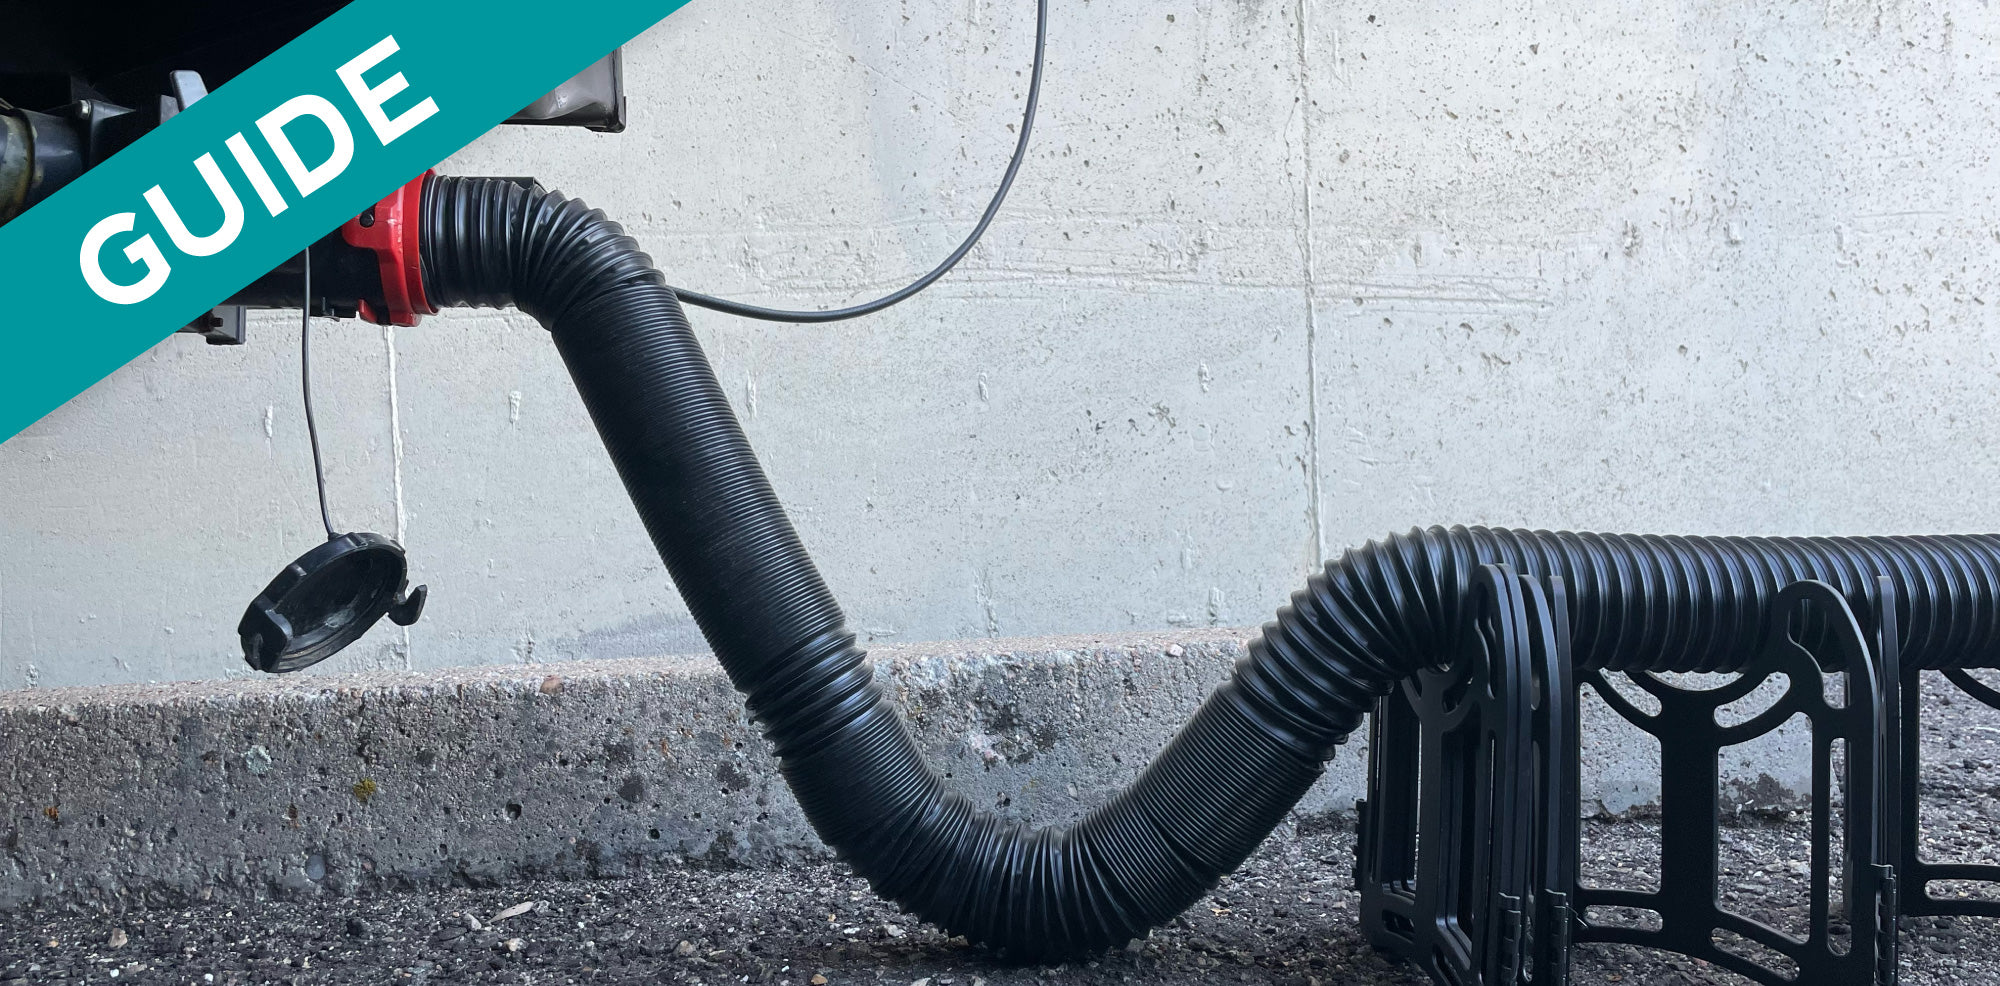
- Attach your discharge hose to your sewage outlet
- Run the discharge hose into the sewer cleanout or dump station port
- Make sure your gray tank (and / or galley tank) is closed.Making sure your gray / galley tank valve is closed prior to opening the black tank valve will prevent sewage in your black tank from backing up into your gray water tanks.
- Dump your black tank by opening the black tank valve
- Allow sewage waste to flow out of the black tank and into the sewer.
- Back-flush your black tank (if your RV is equipped with a back-flush system).Connect a garden hose to the back-flush system port on the side of your RV and turn it on. Run the internal back-flush until only clear, fresh, water is coming out of your discharge hose. But don’t be fooled. You may start to see clear water coming out of the tank and assume your tank is clean; however, keep flushing for another few minutes. A second wave of waste that has collected in the corners of the tank will often flush out after a few more minutes. It can take 30 minutes (or more) to completely empty the waste inside your black tank.
- Close your black tank valve.
- Rinse your discharge hose (if your RV is not equipped with a back-flush system). If your RV isn’t equipped with a back-flush system, you will need to run fresh water (or gray tank water) through the discharge hose to clear out any sewage waste that has collected when dumping your black tank. To do this, close your black tank valve. Then, open your gray tank valve and let your sink and shower water flush out the sewage waste from the discharge hose. Now you can store your hose cleanly and safely.
- Close your gray tank valve.
- Disconnect your discharge hose and store it away.NOTE: The rear bumper of many RVs opens on the side and allows you to store your hose so you don’t have to worry about contaminated water and waste dripping into your storage areas.
NOTE: We recommend that you dump your takes, on average, every 3-5 days and that you add a dose of treatment after each dump.
Guide Continued Below

Sign Up + Save
Join our newsletter and save $5 on your next order! Plus, get exclusive members-only discounts, access to our library of downloadable guides, and insider information on new products and promotions.
Treating Your Black Tank
- Dump your tank following the steps outlined above.
- Confirm your black tank valve is closed.
- Pour your tank treatment down the toilet, into the black tank.
- Add 1-5 gallons of water (depending on capacity) to your black water tank to activate the tank treatment.
- Add several inches of fresh water to your toilet bowl.This is a crucial step to keep any foul-smelling sewer gas from seeping into your RV from the black tank.
- Repeat these steps each time you dump your tank. Treating your tank after every dump ensures waste is properly digested and odors controlled.
Conclusion
And that’s it! Dumping and treating your black water holding tank is actually very easy. Treating your tanks is a common part of routine tank maintenance, but true RV holding tank maintenance doesn’t stop here. To ensure your tanks remain free from clogs, odors, and misreading sensors you’ll need to follow a series of simple, but important steps. We outline all of these steps in our treatment process, The Unique Method. Thousands of RVers trust their tanks with The Unique Method every day. Start using it today and see how easy it is to maintain frustration-free wastewater systems in your RV! If you have additional questions about your holding tanks or the Unique Method don’t hesitate to reach out to us, we’re always glad to help. Happy Camping!
Prevent Common Problems In Your Tanks!
From misreading sensors, preventing clogs, or eliminating odors, we've got you covered no matter how you camp! All our best holding tank tips and trick information plus more can be found conveniently in one place when you download our FREE Unique Method Field Guide. Achieve holding tank bliss today!
Get The Free Download