
Disclaimer: This article is meant to provide an overview of the RV de-winterization process. If you do not feel completely comfortable performing the steps in this process, we recommend having a certified technician at a service center or dealership properly de-winterize your RV.
Key Points:
- Make sure you have all the tools and supplies you need to complete the de-winterization process.
- To de-winterize, you must remove antifreeze from your RV’s water system, sanitize the fresh water system, and verify proper working order of other things like appliances, seals, and the LP gas system.
- Perform a thorough deep clean of your black water tank (if you didn't do so when winterizing the RV) using Clean-It.
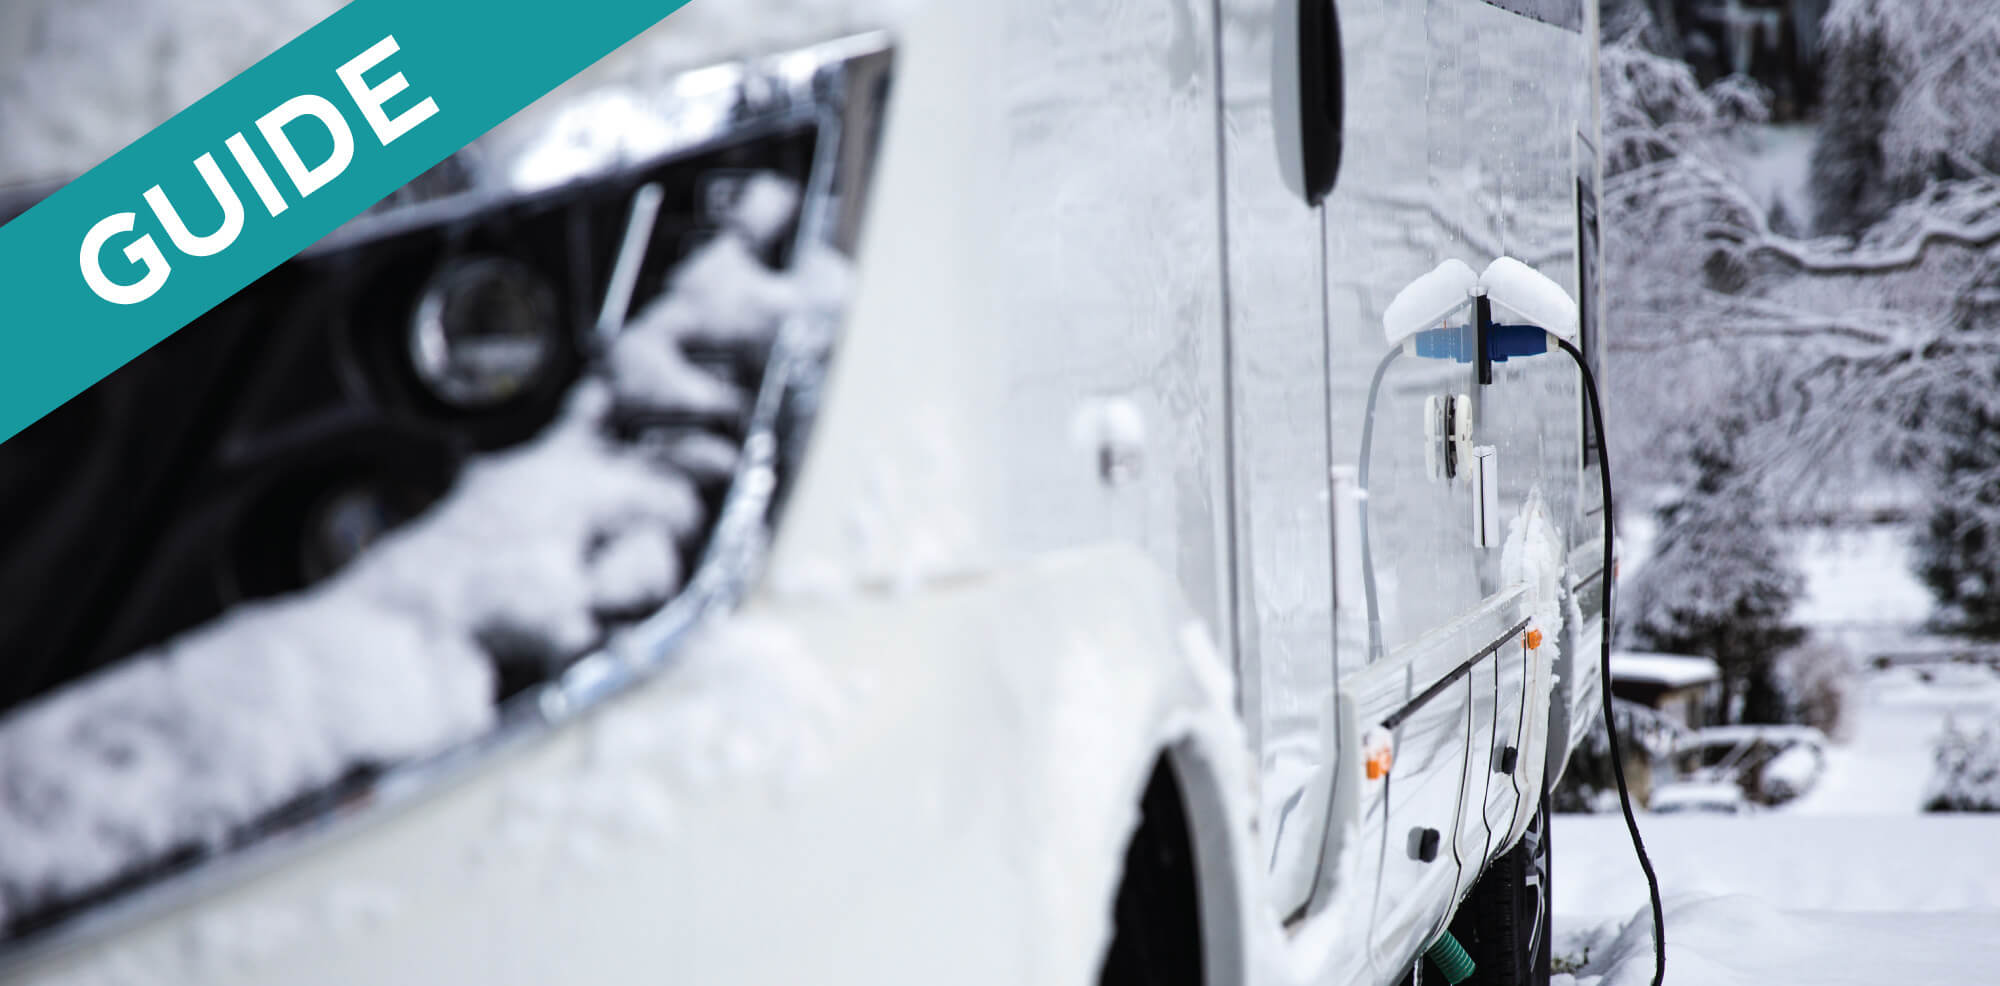
Those chilly, bleak days of winter have now passed, and the warmer weather is quickly approaching; you’re probably itching to get out and enjoy the sunshine. But in order to enjoy the upcoming shorts weather, you need to properly prepare your RV so you can savor the joys of RVing rather than fixing problems. In this article, we'll provide a brief overview of the de-winterization process and some additional de-winterization tips to avoid annoying issues in the midst of a camping trip.
Preparing to De-Winterize Your RV
If your RV was properly winterized when you put it away for the winter, the process of de-winterization should be pretty smooth and relatively easy, since it’s essentially the reverse of the winterization process. However, if you don't feel completely confident personally de-winterizing your unit or are unsure of any of the steps below, it’s probably best to have a certified professional complete the process for you.
That being said, even if you choose to have your RV professionally de-winterized, it’s still helpful to understand the process. Conveniently, the de-winterization steps for almost every RV class or type are nearly the same; there still may be some processes that will vary slightly on certain units, so it’s important to check your RV’s user manual for instructions about de-winterizing your specific unit before taking the following process as gospel.
Supplies:
The de-winterization process and RV checks may require the use of certain tools and products that you may need to purchase to complete all the steps.
- Manual screwdriver or electric powered screwdriver
- Wrench and sockets
- New anode rod for the water heater (if needed)
- Freshener for your fresh water holding tank – cleans and deodorizes your water tank and lines
- Caulking or silicone sealer – for shoring up window seals
- Roof sealant – inspect the roof before buying the sealant; your roof seals may be fine
How To De-winterize Your Camper
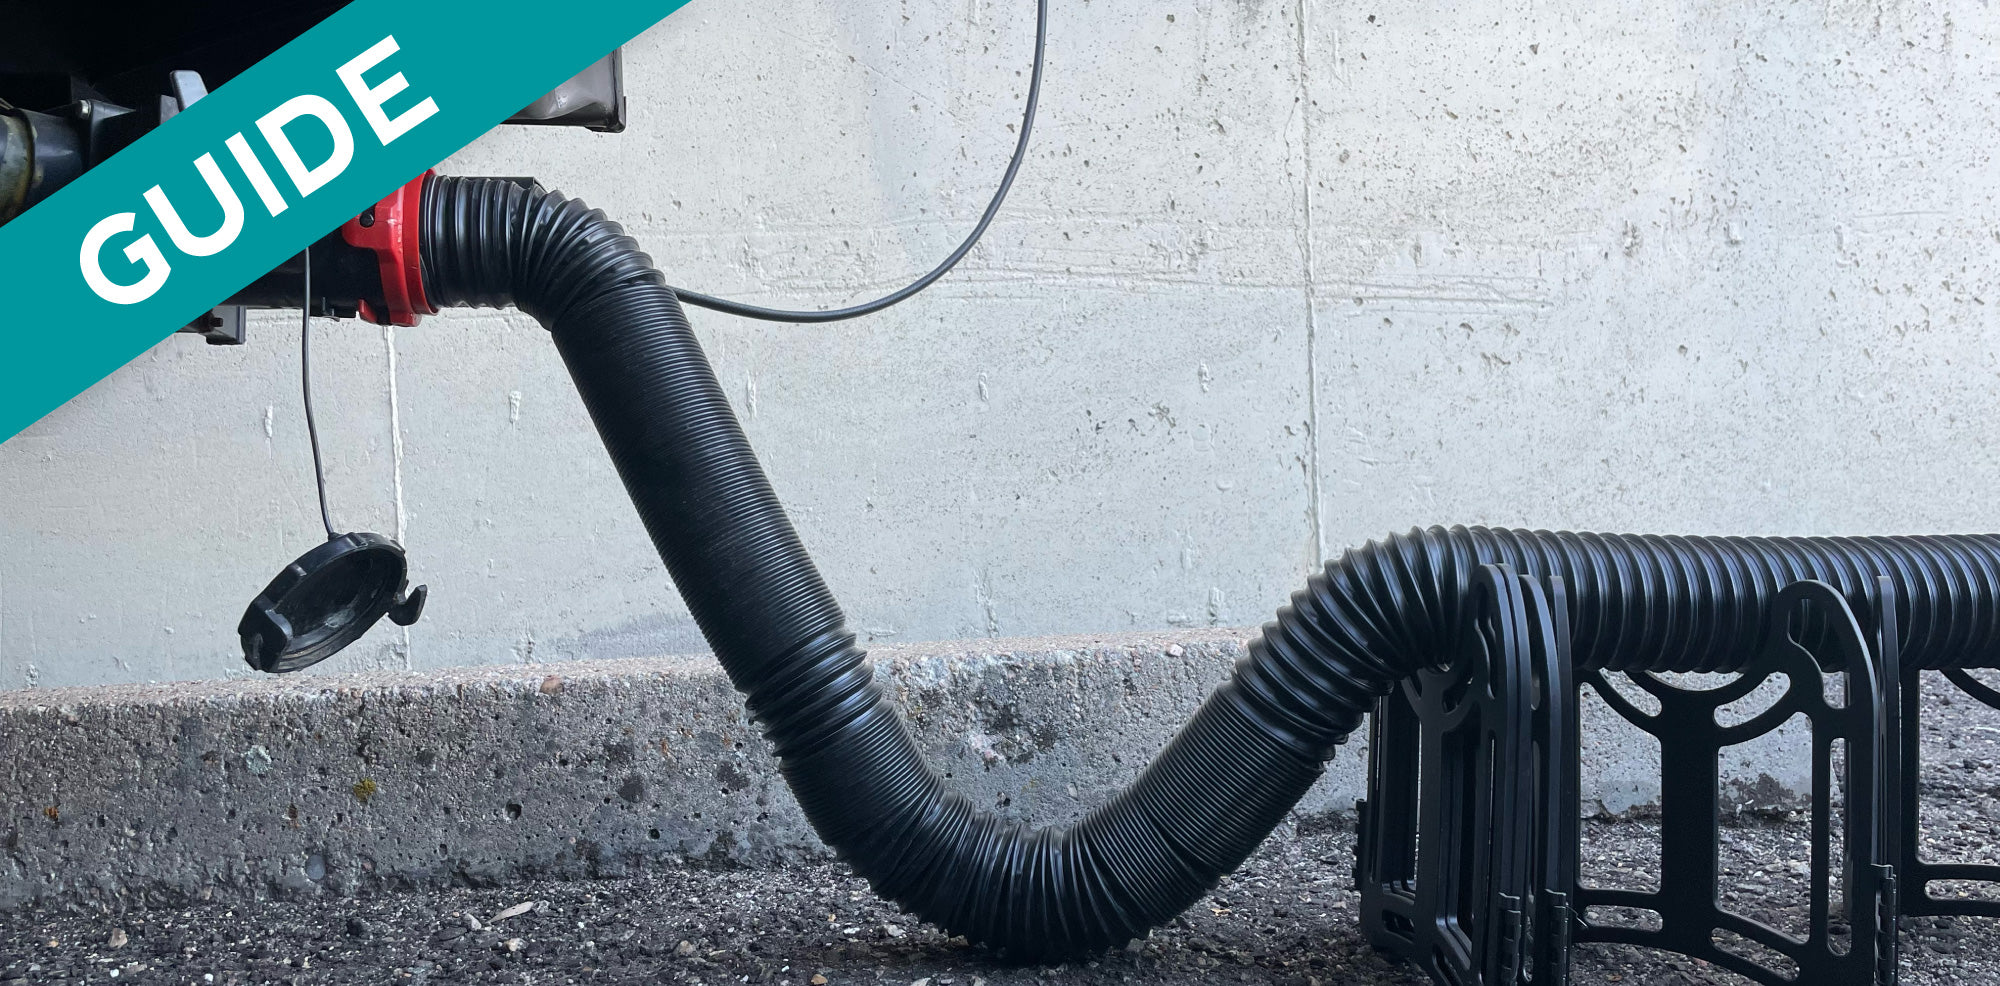
De-winterizing your RV means following several different procedures and checklists to complete the overall process. The first and arguably most important process is clearing your water lines of antifreeze. Before starting this process, you’ll need to make sure you can access the front and back of your water heater. The front of the water heater is always located on the outside of the RV and is the access point for checking the anode rod and inspecting the overall heating system for damage. The back of the water heater is located somewhere inside the RV; some are located inside a closet or somewhere near the stove, but there are others that are hidden behind a drawer or some paneling. This is where you will turn the water heater bypass on and off.
Flush Antifreeze Out of the Water System
The step order for doing this might be slightly different if, when winterizing, you decided to bypass the water heater and not fill it with antifreeze. In this case, you can access and inspect the anode rod and drain caps before flushing the system, but if you did add antifreeze to the water heater, flush the system before inspection.
- Be sure your black and gray water valves are closed.
-
Determine if you need to flush the system before inspecting the water heater:
- If there is antifreeze in the water heater, be sure your low point water drains are closed, and proceed to Step 3.
- If you bypassed the water heater when winterizing, locate the exterior water heater panel where you can inspect the anode rod for calcification and other damage and replace, if necessary. Once you are finished, proceed to Step 3.
- Locate the back of the water heater inside the RV and make sure the bypass is turned off so that water flows freely through your water heater.
-
There are two different ways you can flush out the water system with fresh water:
- If you have access to a city water hook-up, you will not need to use your RV pump to move water through the system; this means if you have a winterizing kit installed on the pump, you can remove it any time before or after the system flush.
- Connect your RV to a city water source.
- Open all the faucets (hot and cold) at the same time, including your outside shower if you have one.
- Turn on the fresh water source.
- Hold the flush pedal down on your toilet for a time until the water runs clear.
- Proceed to Step 5.
- If you plan to fill your freshwater tank and flush the system by using the water pump and you have a winterizing kit installed, you’ll need to remove the winterizing kit before performing the flush.
- After removing the winterizing bypass kit, fill your freshwater tank with water.
- Turn on your pump and open all the faucets (hot and cold) in the RV, including your outside shower if you have one.
- Hold the flush pedal down on your toilet for a time until the water runs clear.
- Proceed to Step 5.
- If you have access to a city water hook-up, you will not need to use your RV pump to move water through the system; this means if you have a winterizing kit installed on the pump, you can remove it any time before or after the system flush.
-
Once the water running out of the faucets is completely clear, close the faucets.
- If you are connected to city water, turn off the water and disconnect from the city water source.
- If you used your pump, fill the remainder of the tank with freshwater.
- Add the freshener product (if using) into your fresh water holding tank.
- Open up all your faucets one more time and run your water pump until the fresh water tank is completely empty (this will allow freshener to flow through all the pipes as well).
Congratulations! You’ve completed the de-winterization process for your RV’s water system. But you’re not done quite yet! There are a few additional checks to be sure your RV is completely ready for the summer fun you have planned.
Summer-Ready RV Checklist
There are some things you should inspect and test to make sure everything is in proper working order. After all, you wouldn't want to get to your campsite and find that your stove isn't working or you have a leak in the roof when a freak rainstorm hits.
- Check window seals – look for any obvious leaks, cracks, or other damage to the window seals. If you find damage, it's always better to scrape the old seal/caulk off and apply a brand new layer. Applying silicone sealant or caulking over weathered seals will not provide a strong seal.
- Check roof seals – checking roof seals usually requires walking on the roof and most RV roofs are strong enough for that, but check your manufacturer manual if you are unsure. The sealant on your roof should feel soft and pliable. If it feels hard or has cracks in it, it needs to be replaced, which means it needs to be cleared away completely and a new layer of sealant should be added. Adding fresh roof sealant on top of damaged or weathered sealant will not provide a strong seal.
- Check the charge on your batteries – it’s likely that RV batteries have lost some charge over the winter, so it's always a good idea to charge them before using the RV. If you feel uncomfortable performing battery maintenance, have a professional RV repair service complete this inspection.
- Test all your appliances – this includes testing your LP gas system. We recommend doing a yearly leak test and gas pressure test performed by a professional RV repair service to ensure your gas system is in tip top shape.
- Check your RV's tire pressure – it’s very likely that your tires have lost some pressure over the winter, so be sure they have the right amount of air before you head out.
- Check your RV's engine or portable generator – perform normal maintenance for these items, which might include changing oil, topping off fluids, etc.
Note: Again, if maintenance on any of these items is something you are not comfortable with, take your RV to a professional.
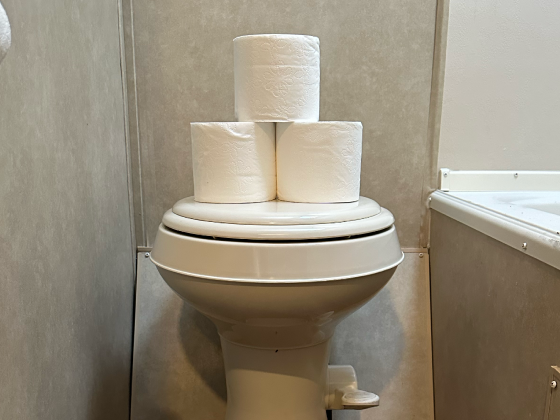
Deep Clean Your Holding Tanks
Before you hit the road for another summer of fun in the sun, we recommend doing a deep clean of both your black water and gray water holding tanks. We always suggest that you perform a deep cleaning on your holding tanks twice per year, once at the beginning of the RVing season and once at the end before you winterize. So if you didn’t do a deep clean before you winterized your camper, it’s definitely a great idea to perform a deep clean on both tanks when you de-winterize. We recommend using Clean-It to deep clean your black tanks because the concentration of bacteria and enzymes swiftly breaks up any residual waste that is stuck to the floor, walls, or sensors of your black tank. We recommend using Dawn Ultra to perform a deep cleaning on your gray tanks because it is a fantastic grease-eater and will also not damage the good bacteria you may be adding to your gray tank. For step-by-step instructions on deep cleaning your tanks, refer to our guide on Deep Cleaning RV Wastewater Holding Tanks.
Review
Unique Camping + Marine has expertise in treating RV wastewater tanks, not de-winterizing or the specifics of RV plumbing systems, especially because every RV’s water system operates differently. That being said, we have written this basic guide using information we found helpful in de-winterization articles on RVTrader.com, which is a recognized expert in RVing, so we believe you can feel confident using their recommendations. If you are still unsure about any of the information contained in this article, we recommend that you simply take your RV to a qualified professional and have them properly de-winterize it.
Following the guidelines in The Unique Method consistently throughout the camping season will keep your tanks and pipes clear of debris, which will make winterizing and de-winterizing a smooth process, so start using it today. Here's a brief review of what we covered in this article:
- Make sure you have all the proper tools and supplies to de-winterize your RV.
- Clear your RV water system of antifreeze.
- Add freshener to your freshwater tank.
- Run through the Summer-Ready RV Checklist:
- Check window seals
- Check roof seals
- Check the charge on your batteries
- Test all your appliances and LP gas system
- Check your RV's tire pressure
- Check your RV's engine or portable generator
As an Amazon Associate, Unique Camping + Marine earns from qualifying purchases
Prevent Common Problems In Your Tanks!
From misreading sensors, preventing clogs, or eliminating odors, we've got you covered no matter how you camp! All our best holding tank tips and trick information plus more can be found conveniently in one place when you download our FREE Unique Method Field Guide. Achieve holding tank bliss today!
Get The Free Download