

DISCLAIMER: This guide is meant to give you an overview of the winterization process. We recommend that you do not winterize your RV at home if you do not feel completely comfortable and competent in performing each step. Have your RV winterized by a certified technician if you feel unsure in any way; improper winterization of your RV can cause significant damage if done incorrectly.
Key Points:
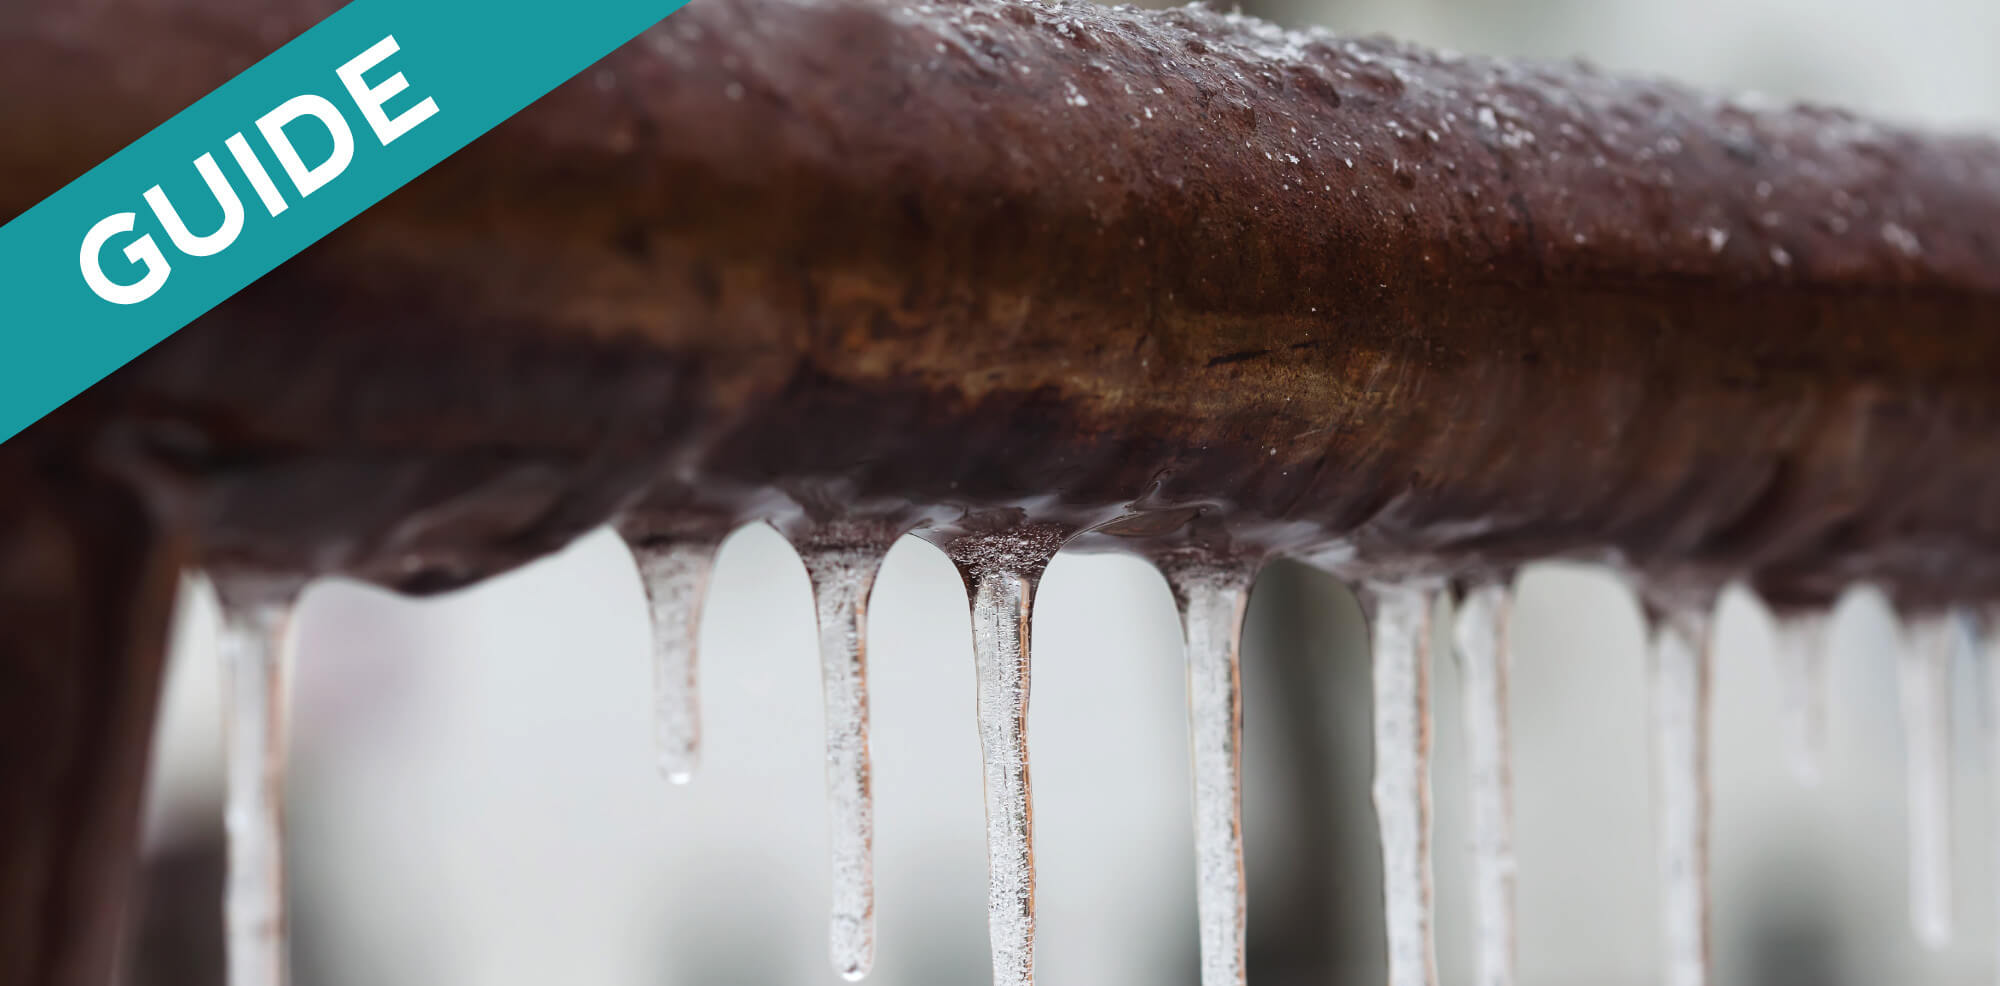
- “Winterizing” basically involves removing all of the water from your RV’s plumbing lines so it won’t freeze over the winter and cause the pipes to break.
- To properly winterize your RV, obtain the necessary supplies.
- Deep clean your black and gray tank before winterizing.
- You’ll need to drain all tanks and remove excess water from plumbing lines.
- After removing excess water, add antifreeze to all plumbing lines (antifreeze ensures the lines won’t freeze if any water was left behind).
After a long summer RVing in the great outdoors, your RV certainly deserves its long winter rest! But if you want it to come back the next summer performing just as well as it did this summer, it’s critical that you properly winterize your RV. Not only is this a good practice to get in the habit of doing before you put it to bed for the winter, but it will ultimately maximize its functional life, saving you money in the long run.
In this article, we’ll discuss the tools and supplies you’ll need, show you the basics of winterizing your RV, and provide a basic review of all the steps we covered. We will also provide references to the winterizing resources we used to write this guide so you can have the most detailed information possible to complete the winterizing process like a pro.
Supplies
There are several very important tools and supplies you’ll need for properly winterizing your RV. Some of the items in this list come installed on RVs, but for RVs that don’t have them, you’ll need to purchase an aftermarket kit to fully winterize your RV without worrying through the winter.
-
RV or Marine antifreeze
Find a non-caustic RV-specific antifreeze that won’t damage your RV (we recommend a propylene glycol RV antifreeze). You should expect to use 2-3 gallons, but it could vary depending on the size and layout of your RV. -
A water heater bypass kit
These kits allow water to bypass your water heater while still flowing through the rest of your RV’s hot water piping. Some RVs have these installed already, but they are also pretty cheap if you don’t. This is a must for properly winterizing your RV, so don’t skip this step if you don’t have one already installed. -
A tank cleaning wand (if your tank does not have a internal rinsing system)
Some RVs come with an installed rinser system; if yours doesn’t have this, a tank cleaning wand will do the job just as well, and they are typically very affordable. -
A water pump converter kit or tubing
This will allow you to connect to the inlet end of your water pump and pump RV antifreeze into your water system. - Simple tools to connect and remove drain plugs
Now that you’ve got what you need, it’s time to get started on the actual steps to winterizing your RV.
Steps for Winterizing Your RV
Many people choose to have their RV winterized by a certified technician. Whether you decide to do the winterizing work yourself or have someone else do it, it’s nice to understand exactly how the process works so you can make sure it’s being done properly.
-
Deep clean your gray and black tanks.
This is a crucial step before winterizing because it will help dislodge any clingy solid waste and TP in the black tank and break up any grease and oils that may be adhering to the sensors in the gray tank. Deep cleaning is a vital maintenance habit to perform twice a year or every 3-5 dumps for full-time RVers. -
Remove in-line water filters (if your RV has any).
- If your RV does have an in-line water filter, there should be a bypass hose you can install after the filter is removed.
- If your RV does NOT have an in-line water filter, you can skip to Step 3.
-
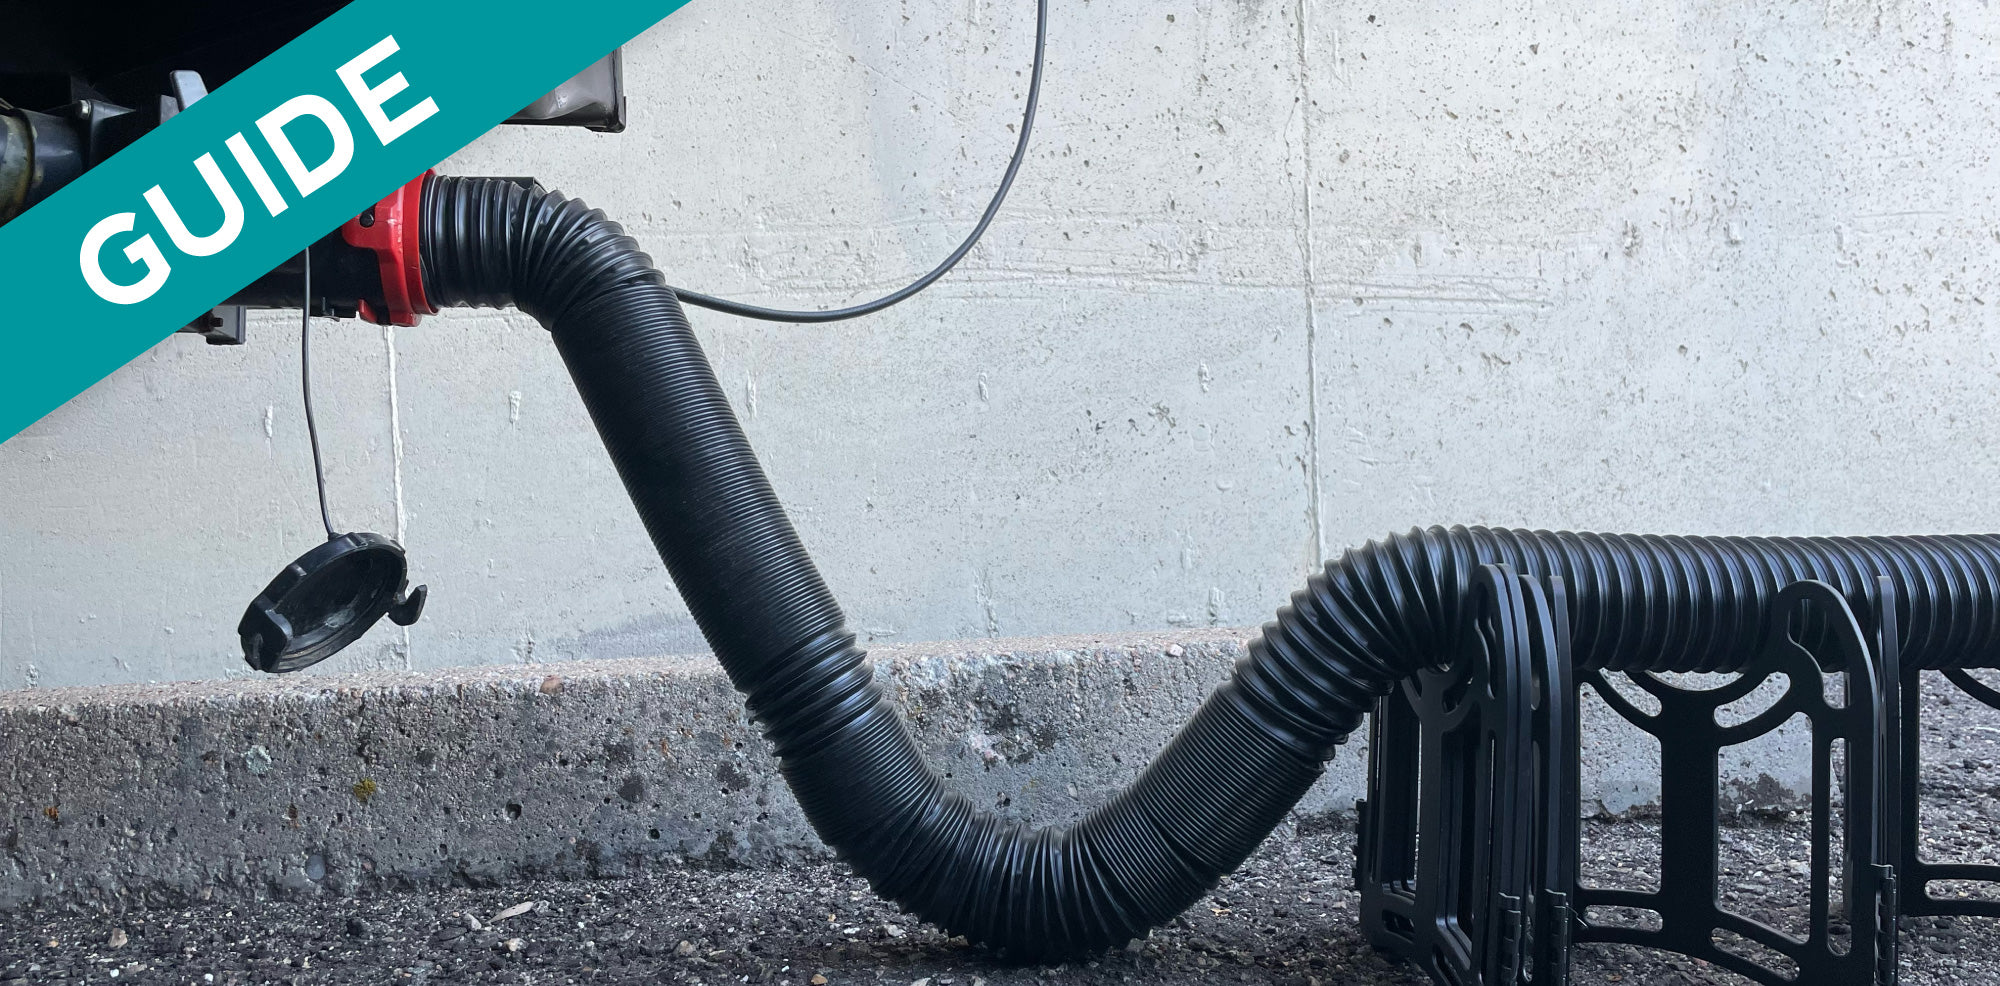
Drain all your tanks.
- Drain your freshwater holding tank.
- Drain your black water and gray water holding tanks at an RV dump station or in your home’s clean out port.
Note: If your RV doesn’t have a tank flushing system already built-in, use your tank cleaning wand to help flush out and clean your black water tank.
- Drain your water heater tank, and flush out your system, removing any excess water.
CAUTION: Never drain your water heater tank when it is under pressure or hot. Always make sure no water is connected to the RV and that your 12-volt water pump has been off for some amount of time.
-
Push out excess water from the pipes.
- Open all the water faucets in your RV (both hot and cold), including the faucets and valves on your toilet and shower.
- Locate and remove the drain plugs on the low point water drain lines.
- Flush your RV’s toilet and use the 12-volt water pump to help push out any water that might remain in your plumbing; turn off the pump as soon as your system is empty of water to avoid damaging it. You can also use an air compressor to blow out all the water with air.
- Replace drain plugs and close all your faucets.
-
Bypass your water heater.
It’s pretty likely that your RV already has a built-in water heater bypass kit, but you can purchase one if you don’t. This is an important step because if you don’t bypass the water heater, all the antifreeze you add will go into your water heater tank before it fills your water lines, and you will end up wasting a lot of antifreeze (not to mention money). -
Fill your RV’s water system with RV antifreeze.
- You can either install a water pump converter kit or disconnect the inlet end of your water pump and use plastic tubing to connect the inlet to a gallon of antifreeze.
- Turn on your 12-volt water pump, which will pressurize the system and pump RV antifreeze into your water lines.
- Open the water faucet closest to the water pump until pink antifreeze begins to run out of the faucet, and then quickly close the faucet. Replace your gallon of antifreeze with another as needed.
- Repeat Step C for each faucet and valve, starting with those closest to the water pump and finishing with the ones that are farthest away.
- Flush your toilet until pink antifreeze appears in the bowl and pour a small amount of antifreeze down each drain in your RV. You can also fill your toilet bowl with antifreeze and flush it, which will keep any residual water from freezing in your holding tank.
-
Close all your faucets and valves.
-
Make sure the water heating element is turned off.
If your RV’s water heater has an electric water heater element, make sure this is turned off for the winter. If it is left on, the heating element will burn out and you’ll need to replace it.
You’ve successfully winterized your RV! While this is a fairly standard process, every RV is different, so be sure to consult your manual for specific winterizing guidelines for your particular unit. The work you put in now will save you time and money in the future, and your RV will definitely thank you next summer!
Avoid common winterizing mistakes and see a visual step-by-step demonstration of winterizing your RV water system with this sponsored video by EndlessRVing.com.
Review
This guide was written by referring to several different articles for the best winterizing tips:
- 7 Easy Steps to Winterizing Your RV Plumbing System (KOA.com)
- Step by Step Winterizing Checklist (KOA.com)
- How to Winterize Your RV (GoRVing.com)
These sites are each recognized experts in RVing, so we believe you can feel safe following their recommendations. If you’re still unsure about anything to do with winterizing your RV, we recommend you simply take your RV into a qualified professional and have it winterized.
Here’s a brief review of how to winterize your RV:
Supplies:
- RV or Marine antifreeze
- A water heater bypass kit
- A tank cleaning wand
- A water pump converter kit or tubing
- Simple tools to connect and remove drain plugs
Steps:
- Deep clean your gray and black tanks.
- Remove in-line water filters (if your RV has any).
- Drain all your tanks.
- Push out excess water from the pipes.
- Bypass your water heater.
- Fill your RV’s water system with antifreeze.
- Close all your faucets and valves.
- Make sure the water heating element is turned off.
- If in doubt, have a qualified RV professional winterize for you.
As an Amazon Associate, Unique Camping + Marine earns from qualifying purchases.
Prevent Common Problems In Your Tanks!
From misreading sensors, preventing clogs, or eliminating odors, we've got you covered no matter how you camp! All our best holding tank tips and trick information plus more can be found conveniently in one place when you download our FREE Unique Method Field Guide. Achieve holding tank bliss today!
Get The Free Download